How To Resize Bluestacks Resolution
How to resize Bluestacks resolution: Bluestacks is an amazing Android emulator which is available for both Windows and MAC. This allows you to play Android games or use Android Apps on your PC. Bluestacks is quite big heavy software but it totally deserves it. There are some minimum requirements which your PC need to be fulfilled in order to use it. Once, Bluestacks is completely installed it will give you full control to create virtual Android environment on your device. All ‘n’all Bluestacks is an amazing tool but there are little drawbacks also.
How To Resize Bluestacks Resolution – Fixed
- Press Windows + R keys together and type regedit to open Windows Registry Editor
- Now in left pane expand the “HKEY_LOCAL_MACHINE\SOFTWARE\BlueStacks\Guest\Android\FrameBuffer\0” registry key
- There you see multiple options but we have to deal with WindowWidth, WindowHeight, GuestWidth and GuestHeight.
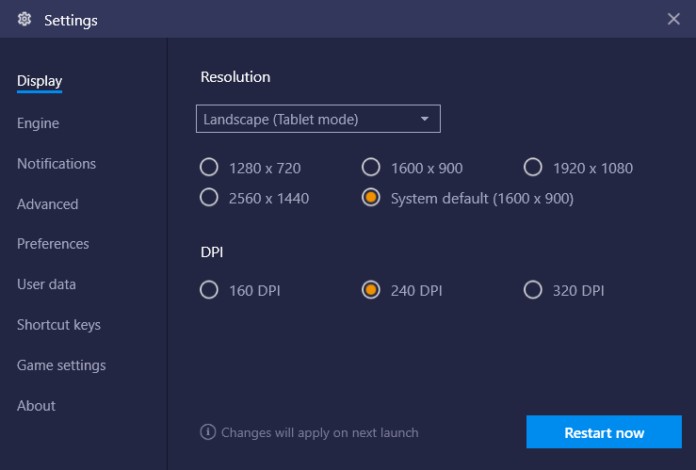
- Here size of WindowWidth and WindowHeight will determine how much emulator window will occupy on the screen. If it is already taking the
maximum size means we are left with no room available.
- In case you want to change the internal emulator resolution then you have to change GuestWidth and GuestHeight values. You can simply enter the same values of WindowWidth and WindowHeight if that has been set to maximum.
- There is one small rule you have to keep internal and external resolution of window same
- Now exit Bluestacks from tray icon and restart it again
- If screen window doesn’t suits you change it again the same way and make it suitable for you.


